This menu option is only enabled if the selected item has FIFO/serial numbers activated (for more information, refer to "File - Inventory - Purchasing"). You use it to select the actual item being credited from the list of FIFO/serial number entries, and to allocate the quantity of that item to be credited.
Refer to "Entering the Credit Note Lines".
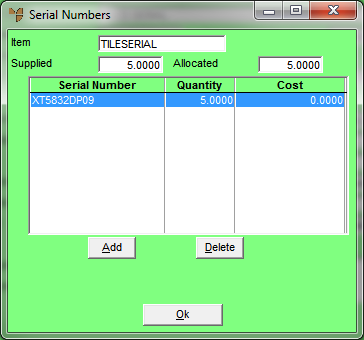
Micronet displays the Serial Numbers screen showing all serial numbers for the selected item from the original invoice.
Only the item(s) to be credited should remain on the Serial Numbers screen.
|
|

|
Technical Tip If the quantity of the serialised item that you are crediting is the same as the quantity invoiced, you don't need to complete the next screen. |
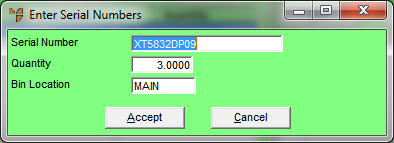
Micronet displays the Enter Serial Numbers screen with the details of the serialised item.
|
|
Field |
Value |
|
|
Serial Number |
Micronet displays the serial number of the selected item. |
|
|
Quantity |
Micronet displays the original quantity sold. Change this, if required, to the quantity being returned. |
Micronet redisplays the Serial Numbers screen.
Micronet redisplays the Enter Credit Item screen.